Chat window & Webconsole Guide
Author(s)
- Sayan Mukherjee
Stack Requirement
- .Net core 6.0
- .Net Framework 4.8, 4.5
- Visual Studio
- Visual Studio Code
- Node-js V16.18.0
- Angular Cli V16.1.4
- IIS
Download all the project
-
Step 1: add member in azure and search for Backend project.
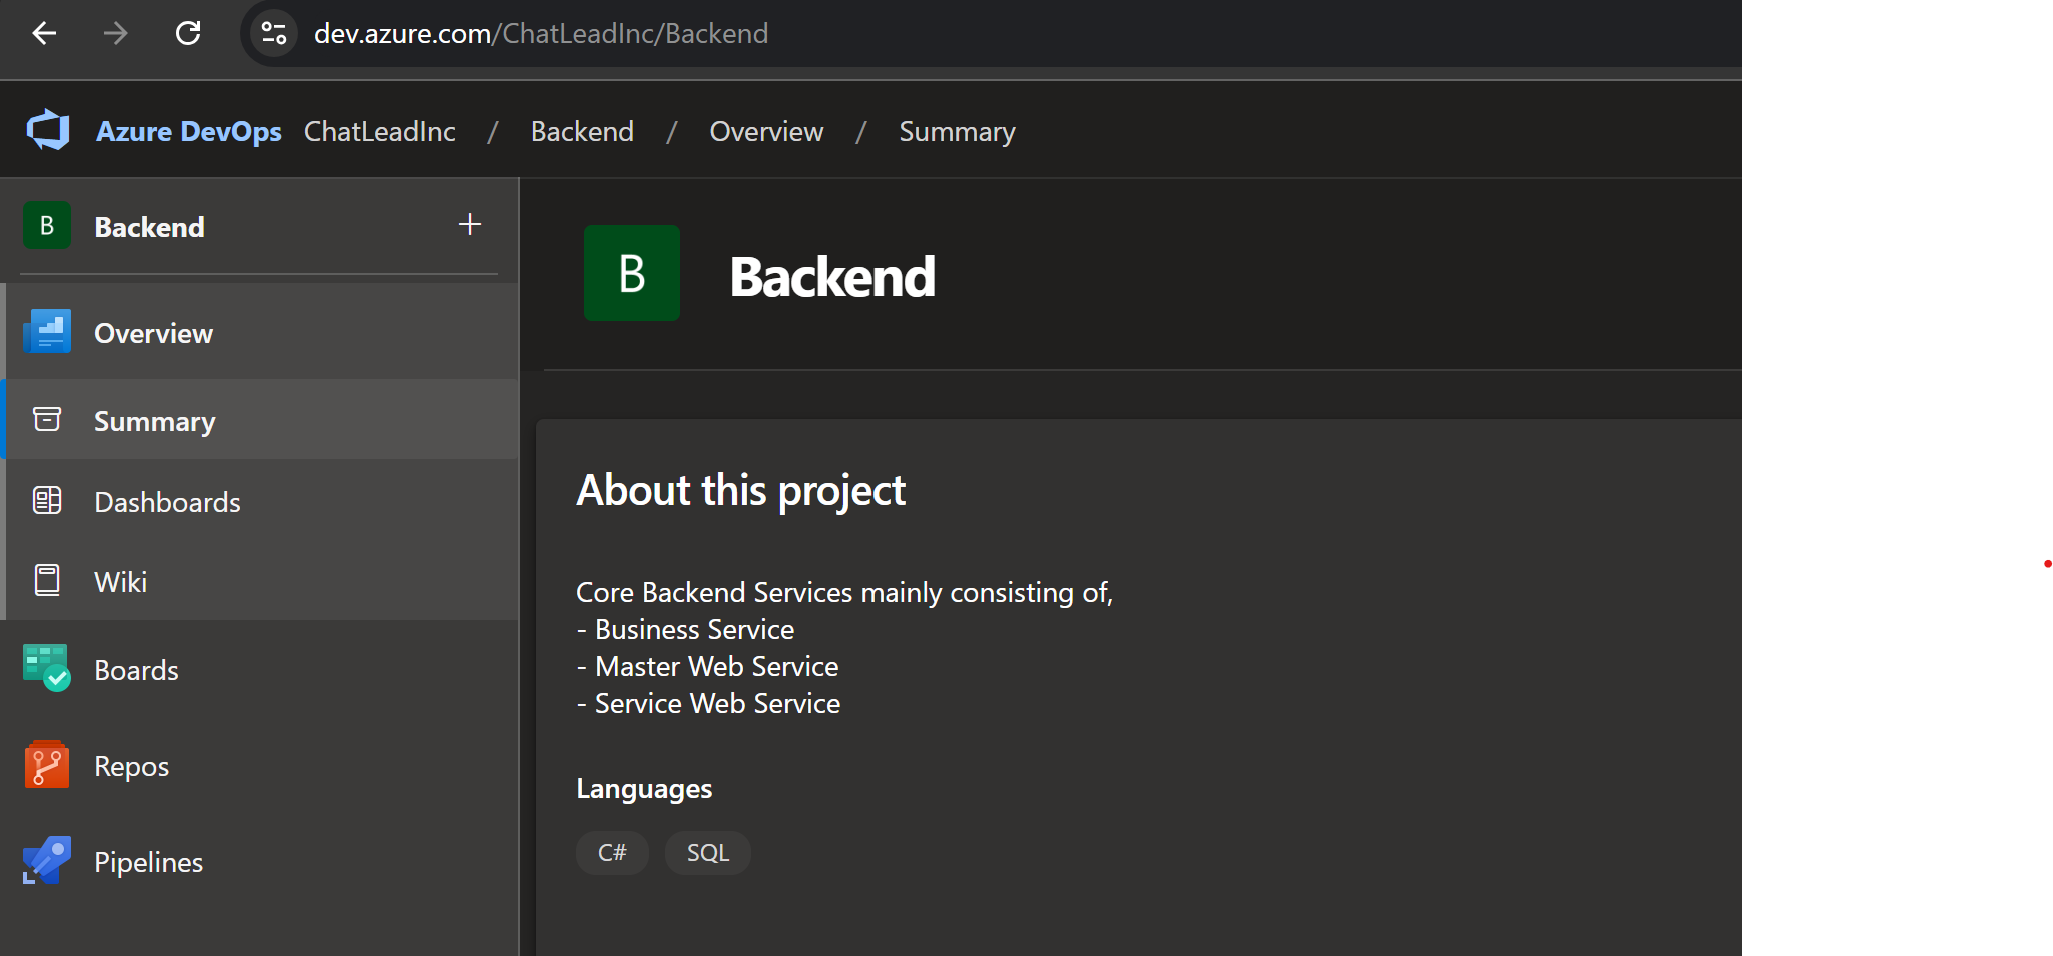 .
. -
Step 2: clone Backend project to your current folder (create a folder Development in Local-Disk(c) (recommended)).
-
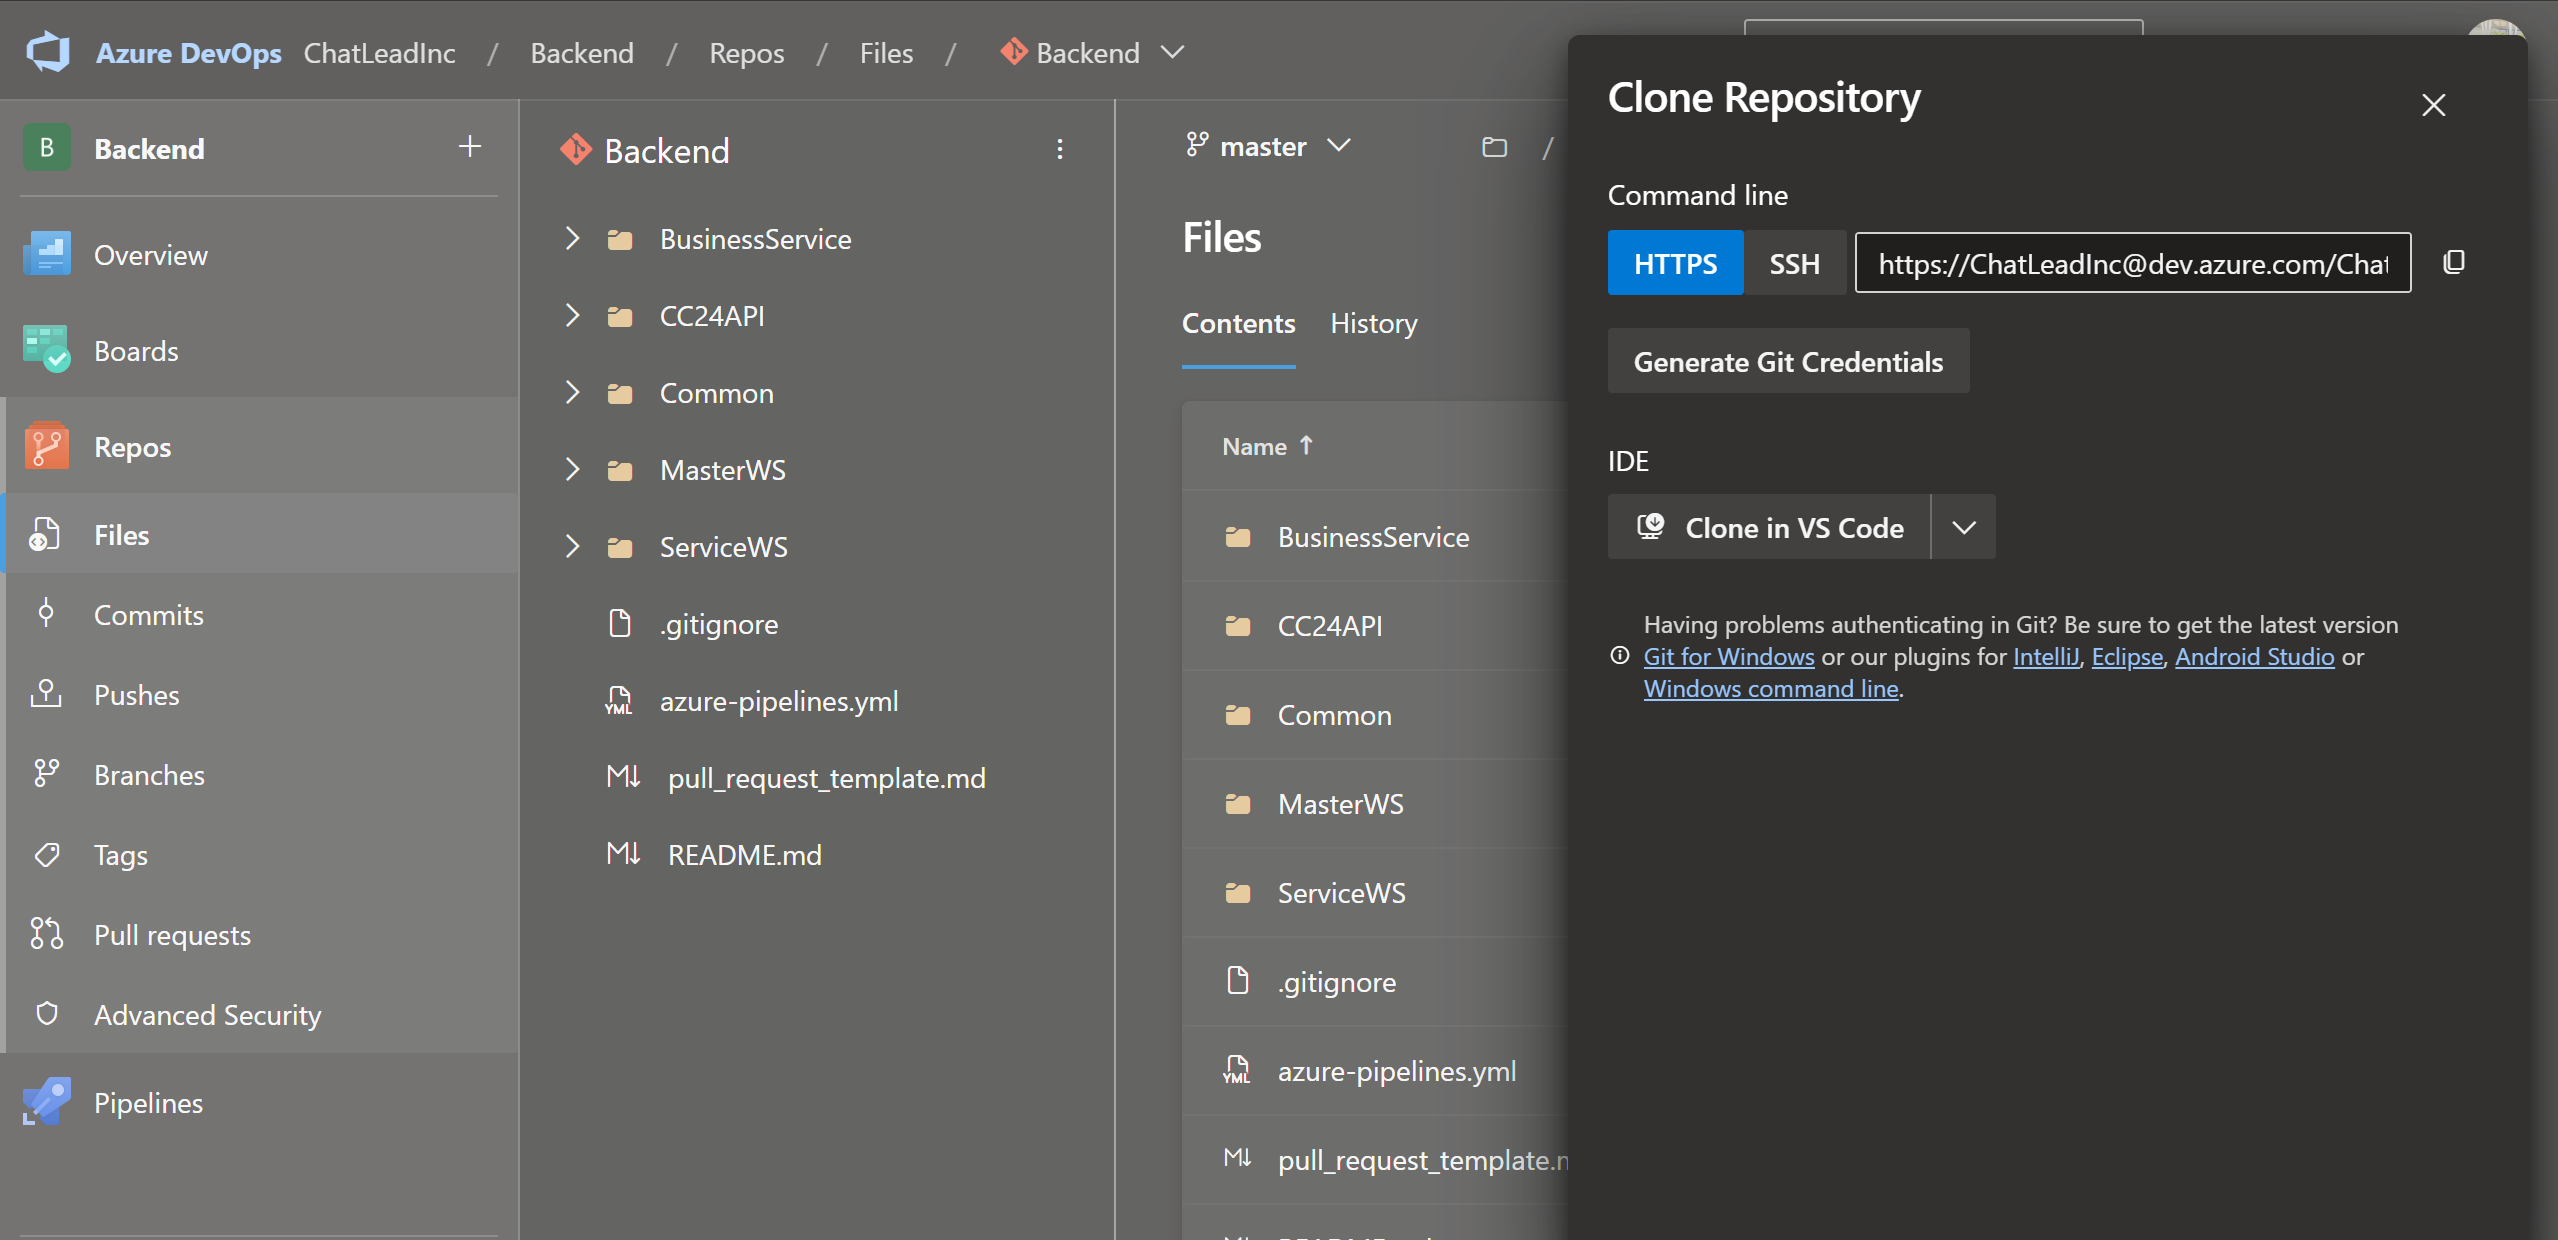
Step 3: clone Backend,vistorchatangular, webconsole, vhs, visitorchat project from Azure Dev to your current folder (create a folder Development in Local-Disk(c) (recommended)).
-
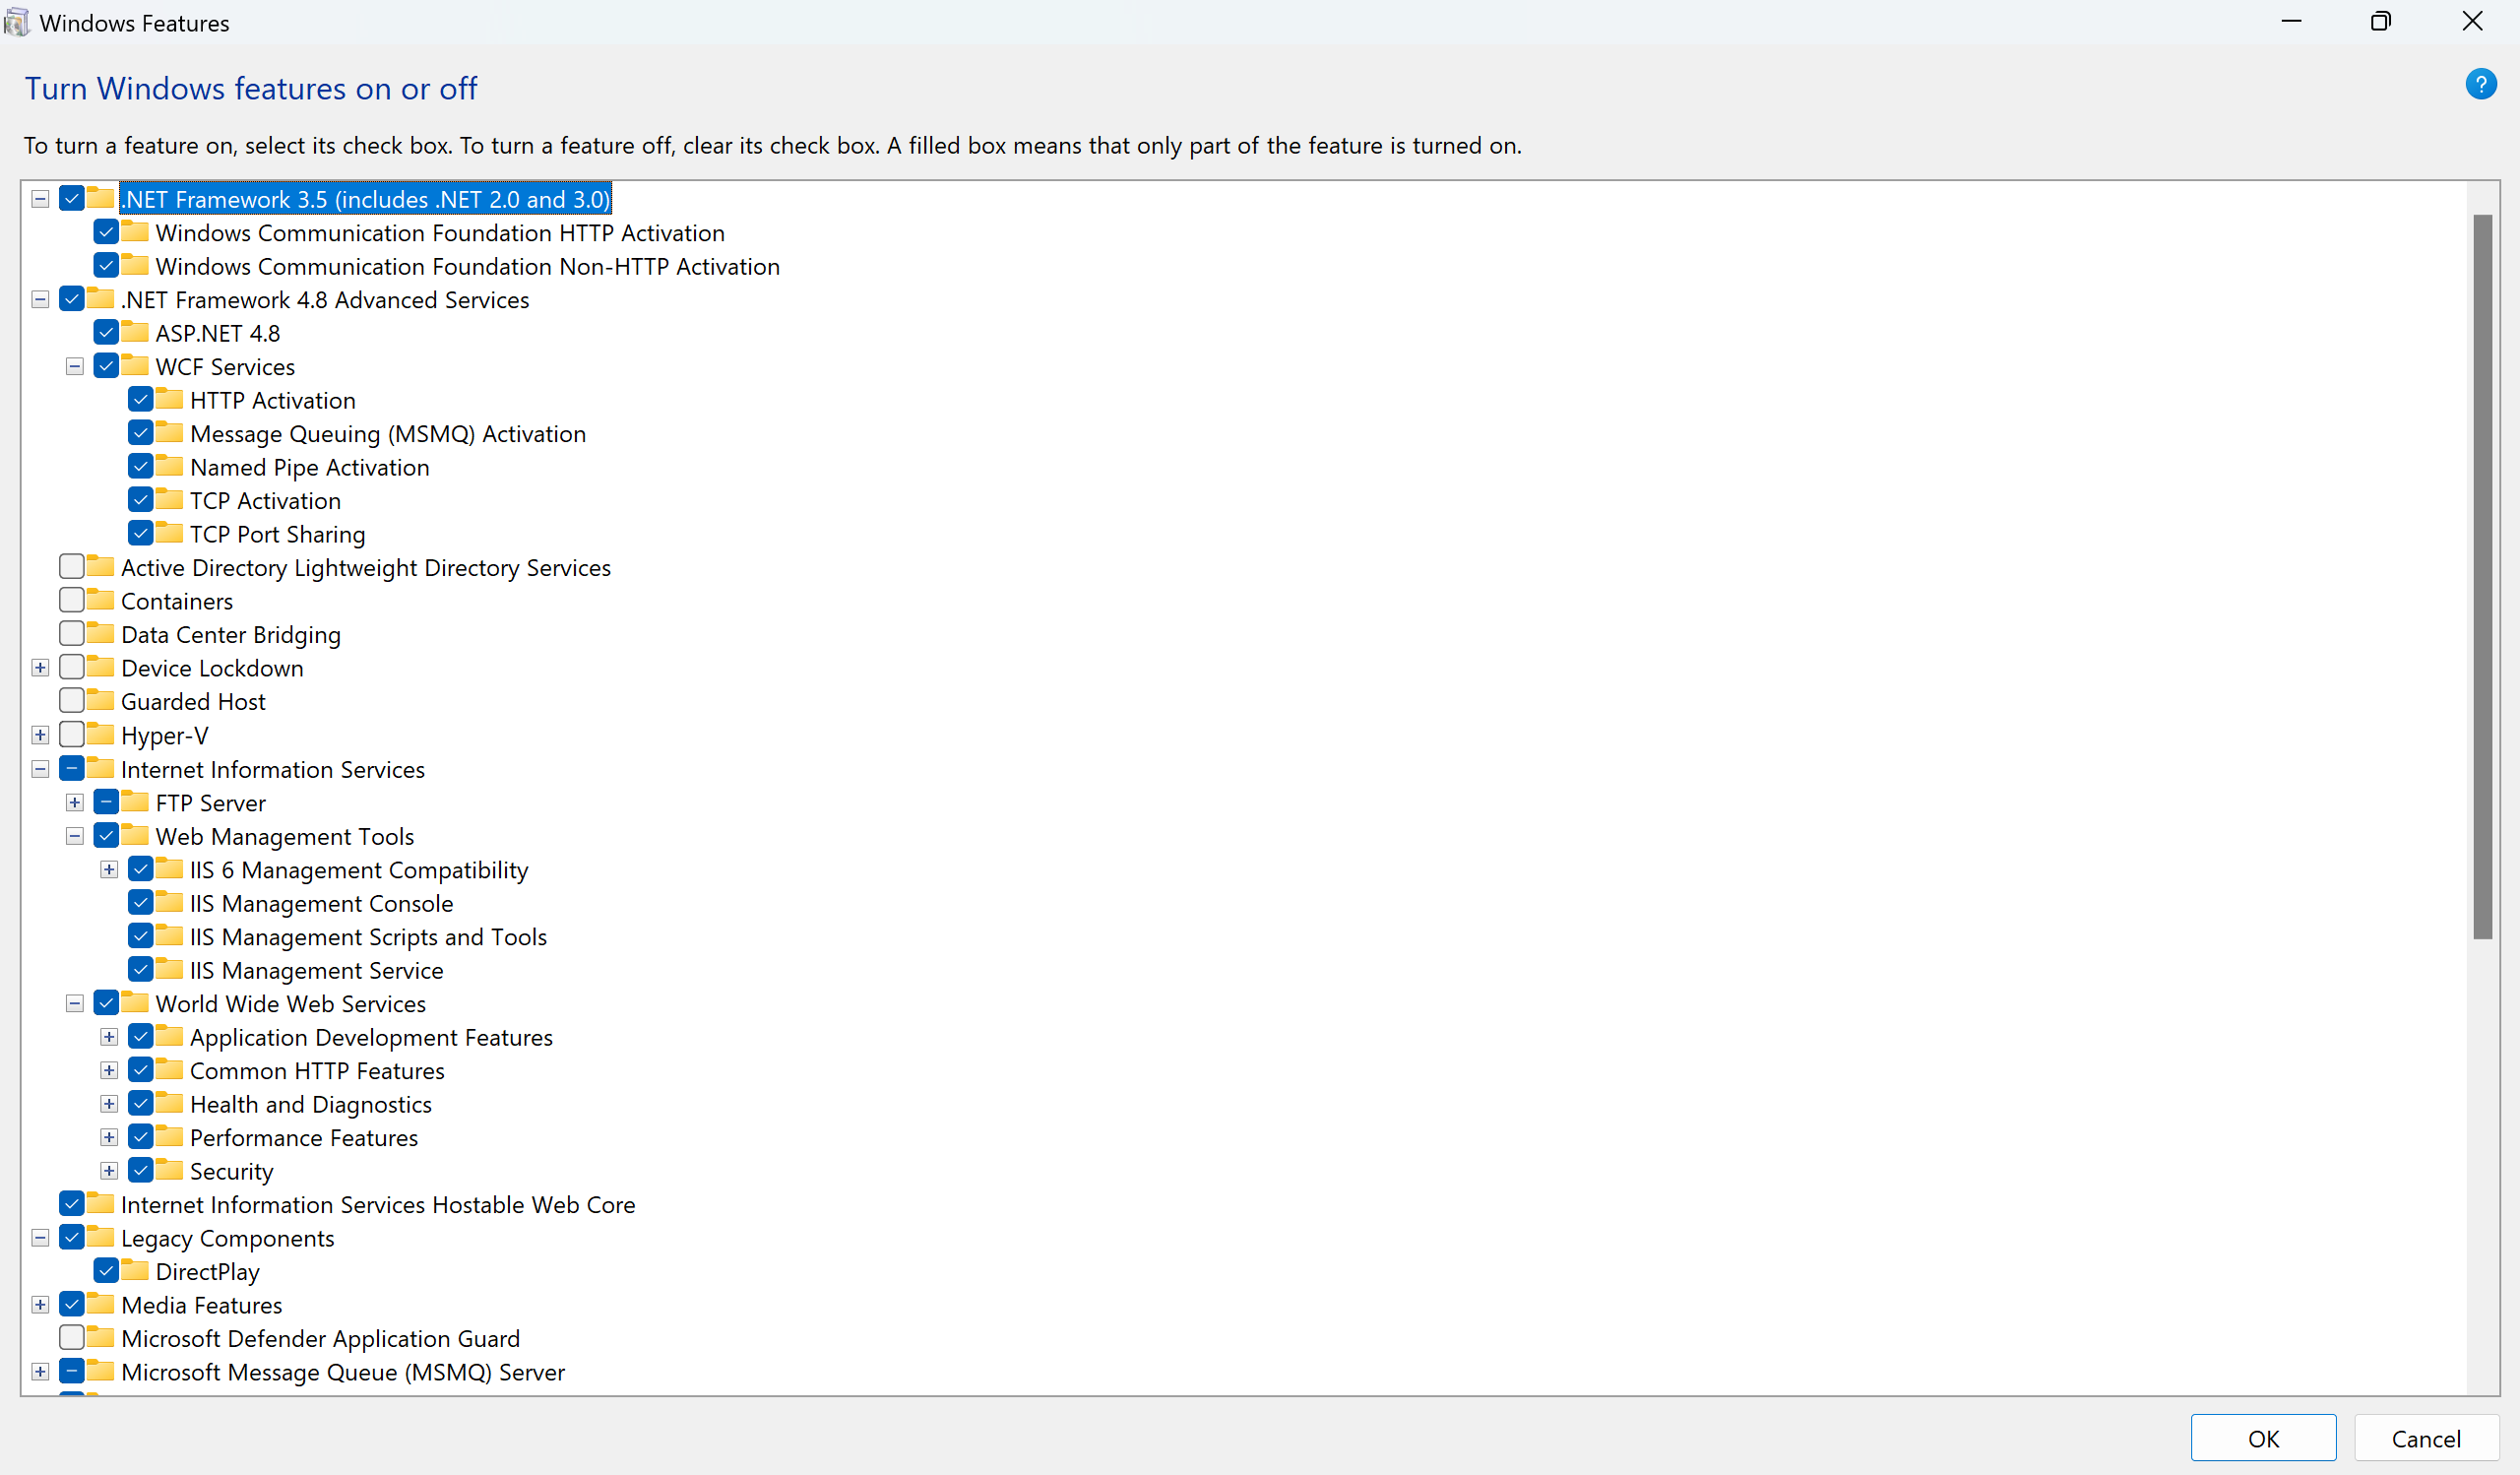
step 4: Make sure you have iis(Internet Information Services) installed. to check this go to windows and search Turn Windows Features On or Off and then check this are enabled or not.
git clone https://ChatLeadInc@dev.azure.com/ChatLeadInc/VisitorChatAngular/_git/VisitorChatAngular

git clone https://ChatLeadInc@dev.azure.com/ChatLeadInc/Backend/_git/Backend

git clone https://ChatLeadInc@dev.azure.com/ChatLeadInc/VHS/_git/VHS

git clone https://ChatLeadInc@dev.azure.com/ChatLeadInc/VisitorChat/_git/VisitorChat
Visitorchat project is deprecated it′s only usefor comcc24domready.js, chat5058.js, chatstarter.aspx, chatwindows/web/responsive/smschatwindow.aspx
Backend Setup
-
open local-disk(c)(installed drive) go to Backend and then BusinessService folder and open BusinessService.sln file in visual studio

-
Code Changes
// change this to "/BusinessService/WinformHost/App._TEST_DEBUG_CarChat24_V1.config" this file.
// to indicate additions (+) and deletions (-)

- 	<add key="SignalRHubJs" value="https://+:443/cc24realtime" xdt:Transform="Insert"/>

+ 		<add key="SignalRHubJs" value="http://+:80/cc24realtime" xdt:Transform="Insert"/>

- <endpoint address="" binding="webHttpBinding" behaviorConfiguration="webBehavior" contract="CC24BackendServer.IChatService" bindingConfiguration="Secure" listenUriMode="Explicit"></endpoint>

+ <!--<endpoint address="" binding="webHttpBinding" behaviorConfiguration="webBehavior" contract="CC24BackendServer.IChatService" bindingConfiguration="Secure" listenUriMode="Explicit"></endpoint>-->

- <add baseAddress="https://localhost:443/chatservice" />

+ <!--<add baseAddress="https://localhost:443/chatservice" />-->
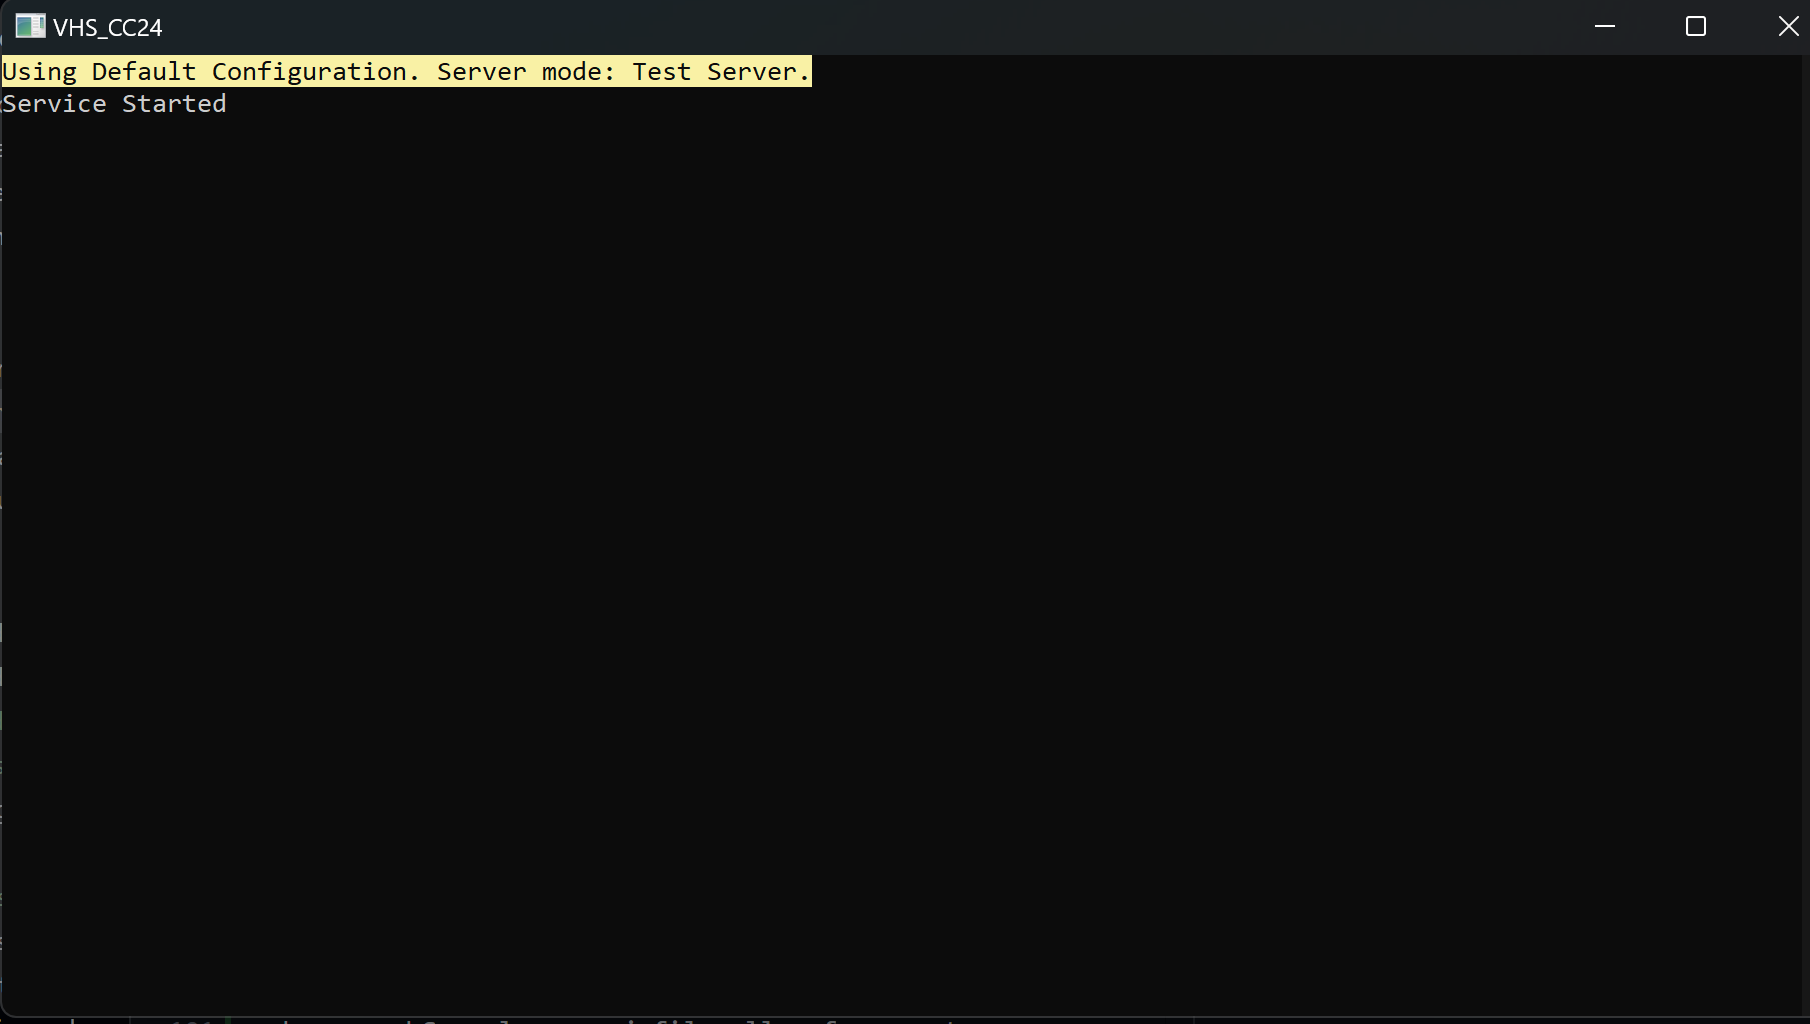
start this with administrator access and start hit and then a screen
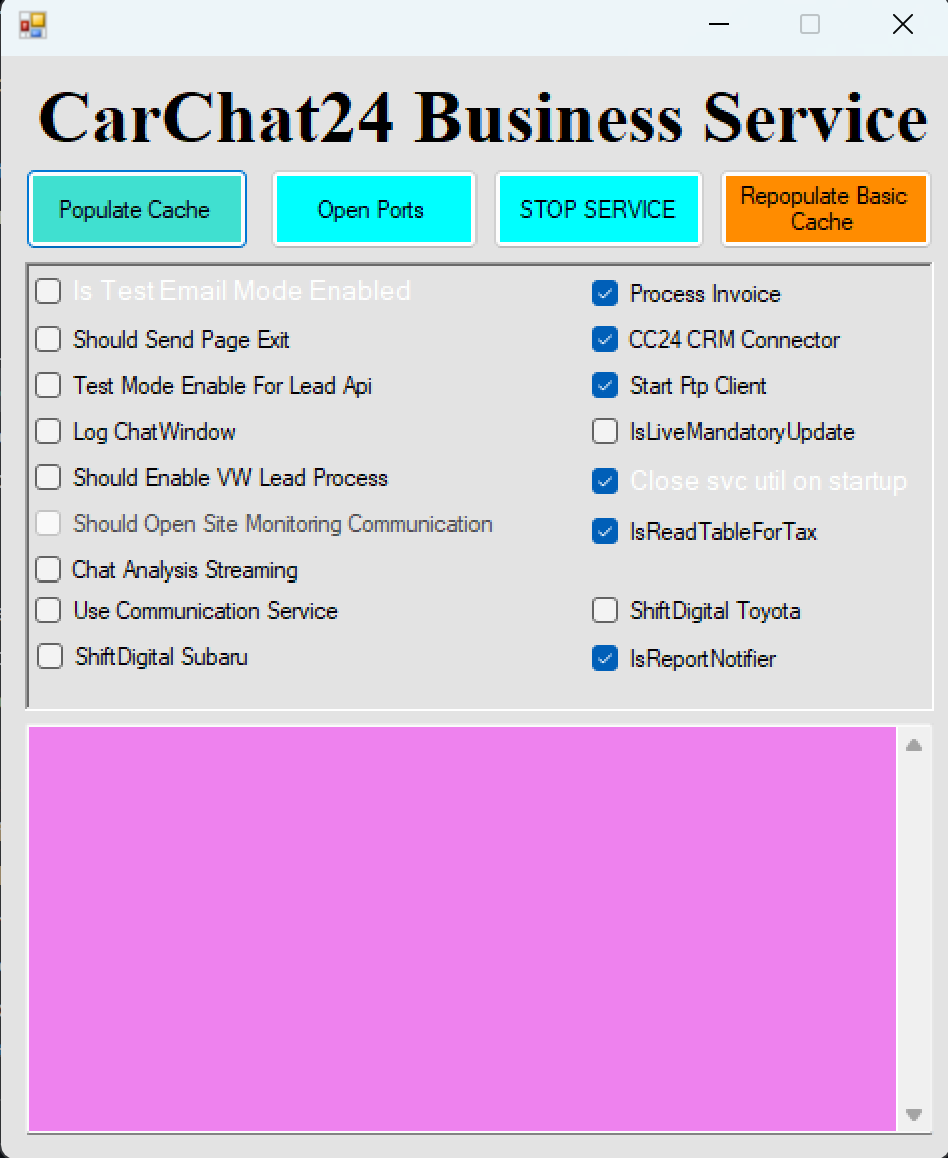 then click on populate cache button after cache population done hit open ports button and after ports opened it will start working.
you can now ping this on taskbar to reuse it without opening visual studio
then click on populate cache button after cache population done hit open ports button and after ports opened it will start working.
you can now ping this on taskbar to reuse it without opening visual studio
one thing keep in mind if business service started once & you need to close it then you should close it from task manager.
VHS-(Visitor Handler Service) Setup
- goto Development folder then open VHS.sin file in visual studio in admin mode. and set VHS_HOST as startup project and then choose the config to _TEST_DEBUG_Carchat24_V1
 .
and then hit start button once Service started it can cached all data related to chaticon. now chat icon available.
.
and then hit start button once Service started it can cached all data related to chaticon. now chat icon available.
 .
you can now ping this on taskbar to reuse it without opening visual studio.
.
you can now ping this on taskbar to reuse it without opening visual studio.
VisitorChatAngular Setup
-
then goto InpageChat folder with that right click and open with visual studio code.
-
After that install npm packages by using
npm i
after that start the application by using
npm start
for building app
npm run build
-
open VisitorChatAngular folder and open InpageChat.sin file in visual studio. make sure you have installed .net core 6 after completion of npm start goto visual studio and click on IIS Express
-
make sure run this after visual studio code npm start or npm run build complete.
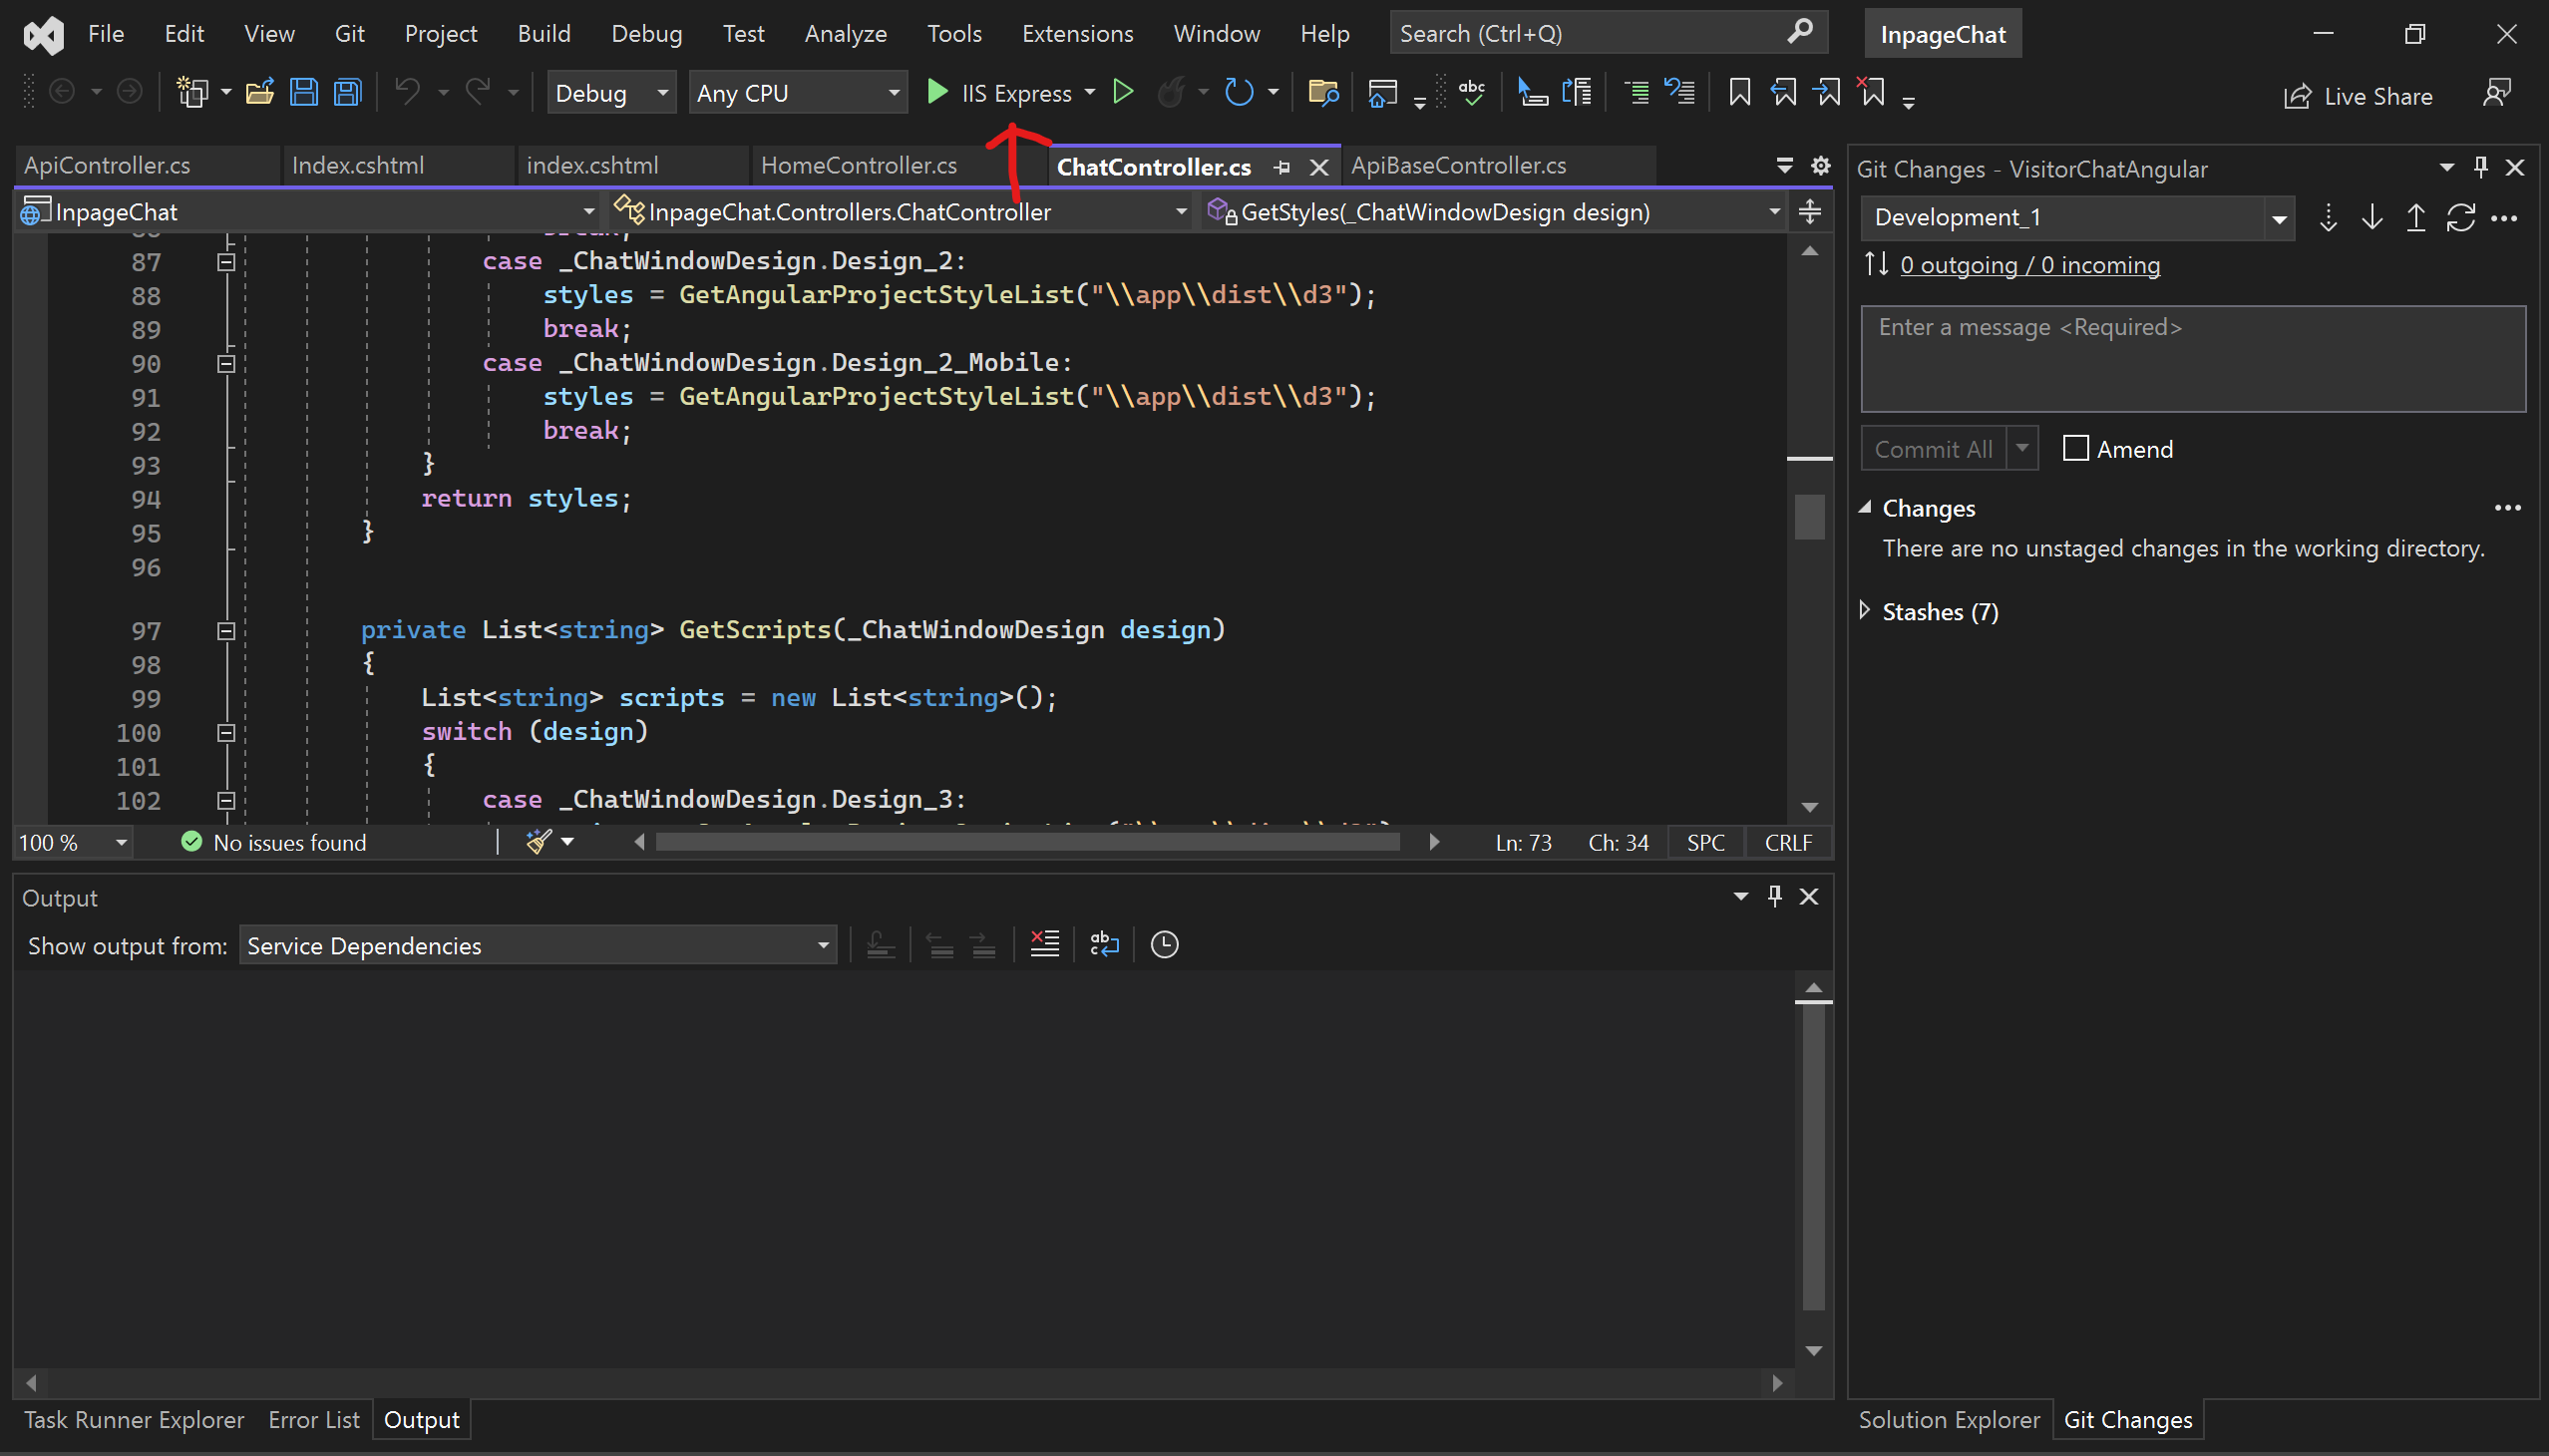 this will launch the app in browser with test server enviornment.
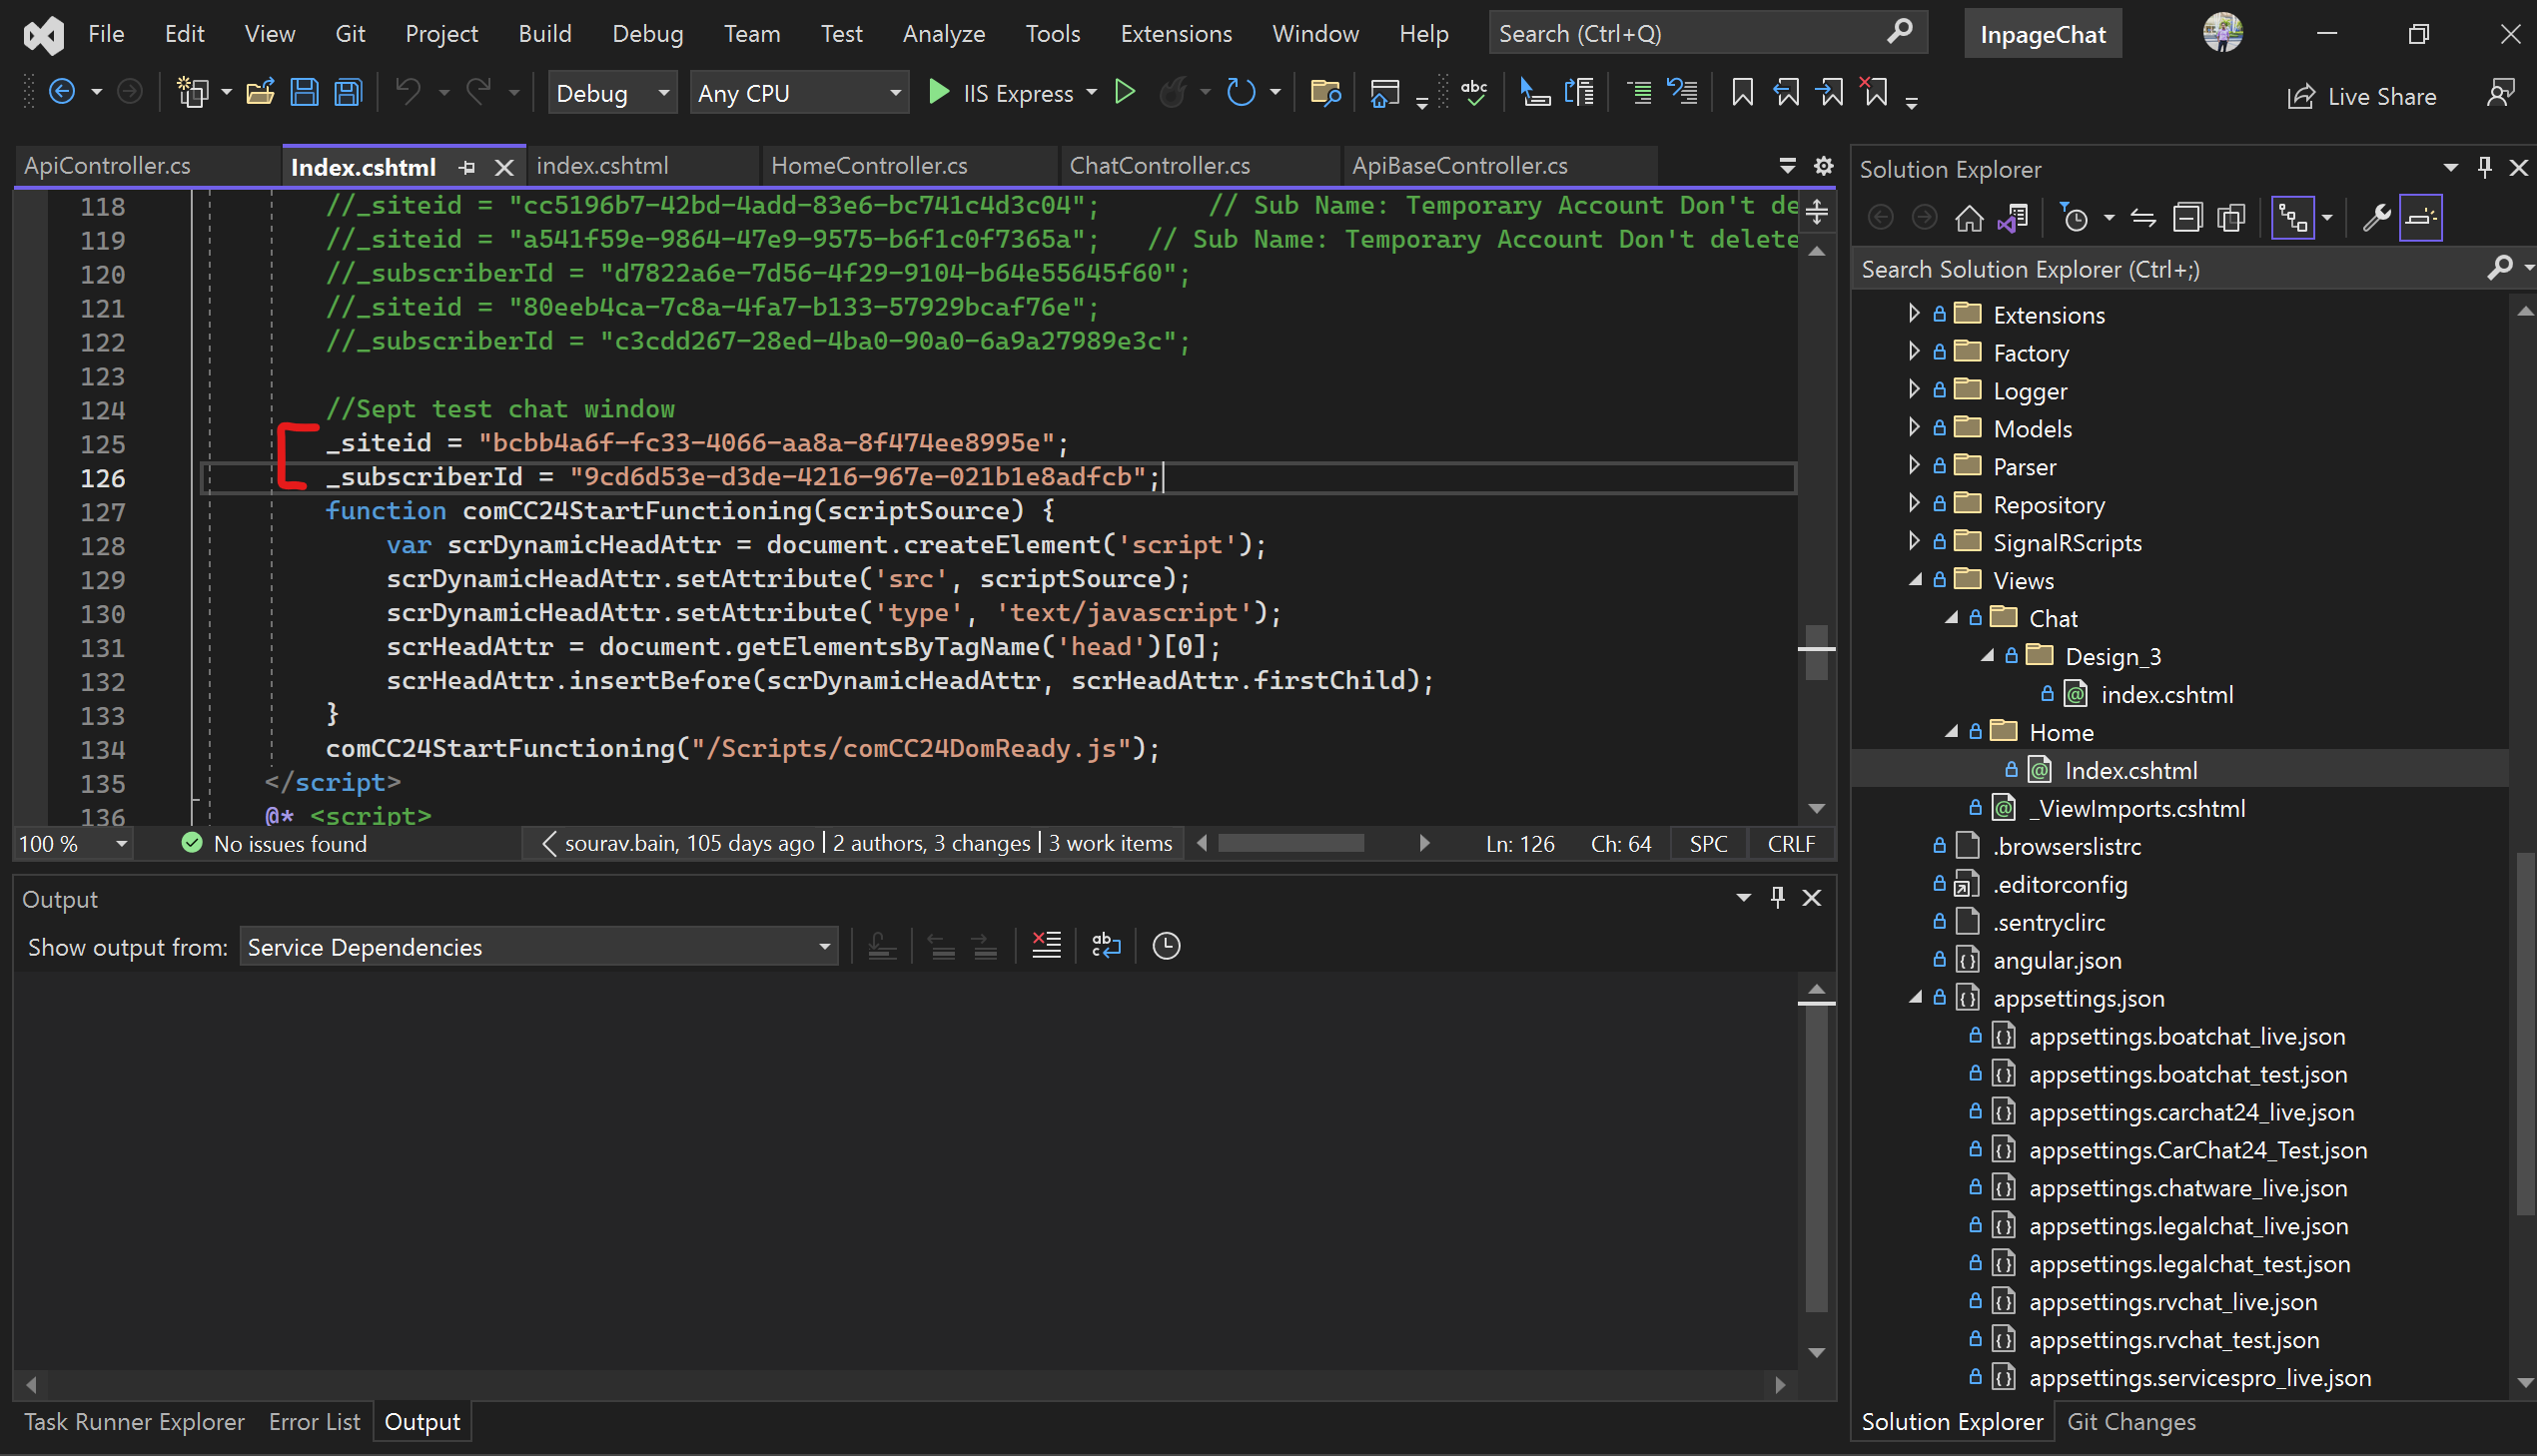
- if you want to change chat icon then goto VisitorChatAngular\InpageChat\Views\Home\Index.cshtml and change the siteId subscriberId as per your need from test server businessweb
Visitorchat(deprecated) setup:
- goto that Development\VisitorChat folder and open visitorchat.sin file in visual studio and you can run it. by selecting config _TEST_CARCHAT_DEBUG
Web-Console Setup
-
goto Development\WebConsole\WebConsole folder and open in visual studio code .
-
after that install npm packages by using
npm i
after that start the application by using
npm start
for building app
npm run build
-
goto Development\WebConsole\WebConsole.sin file and open it using visual studio. make sure .net framework 4.5 and 4.8 are installed.
-
Make webconsole folder as startup project in visual studio. then click on
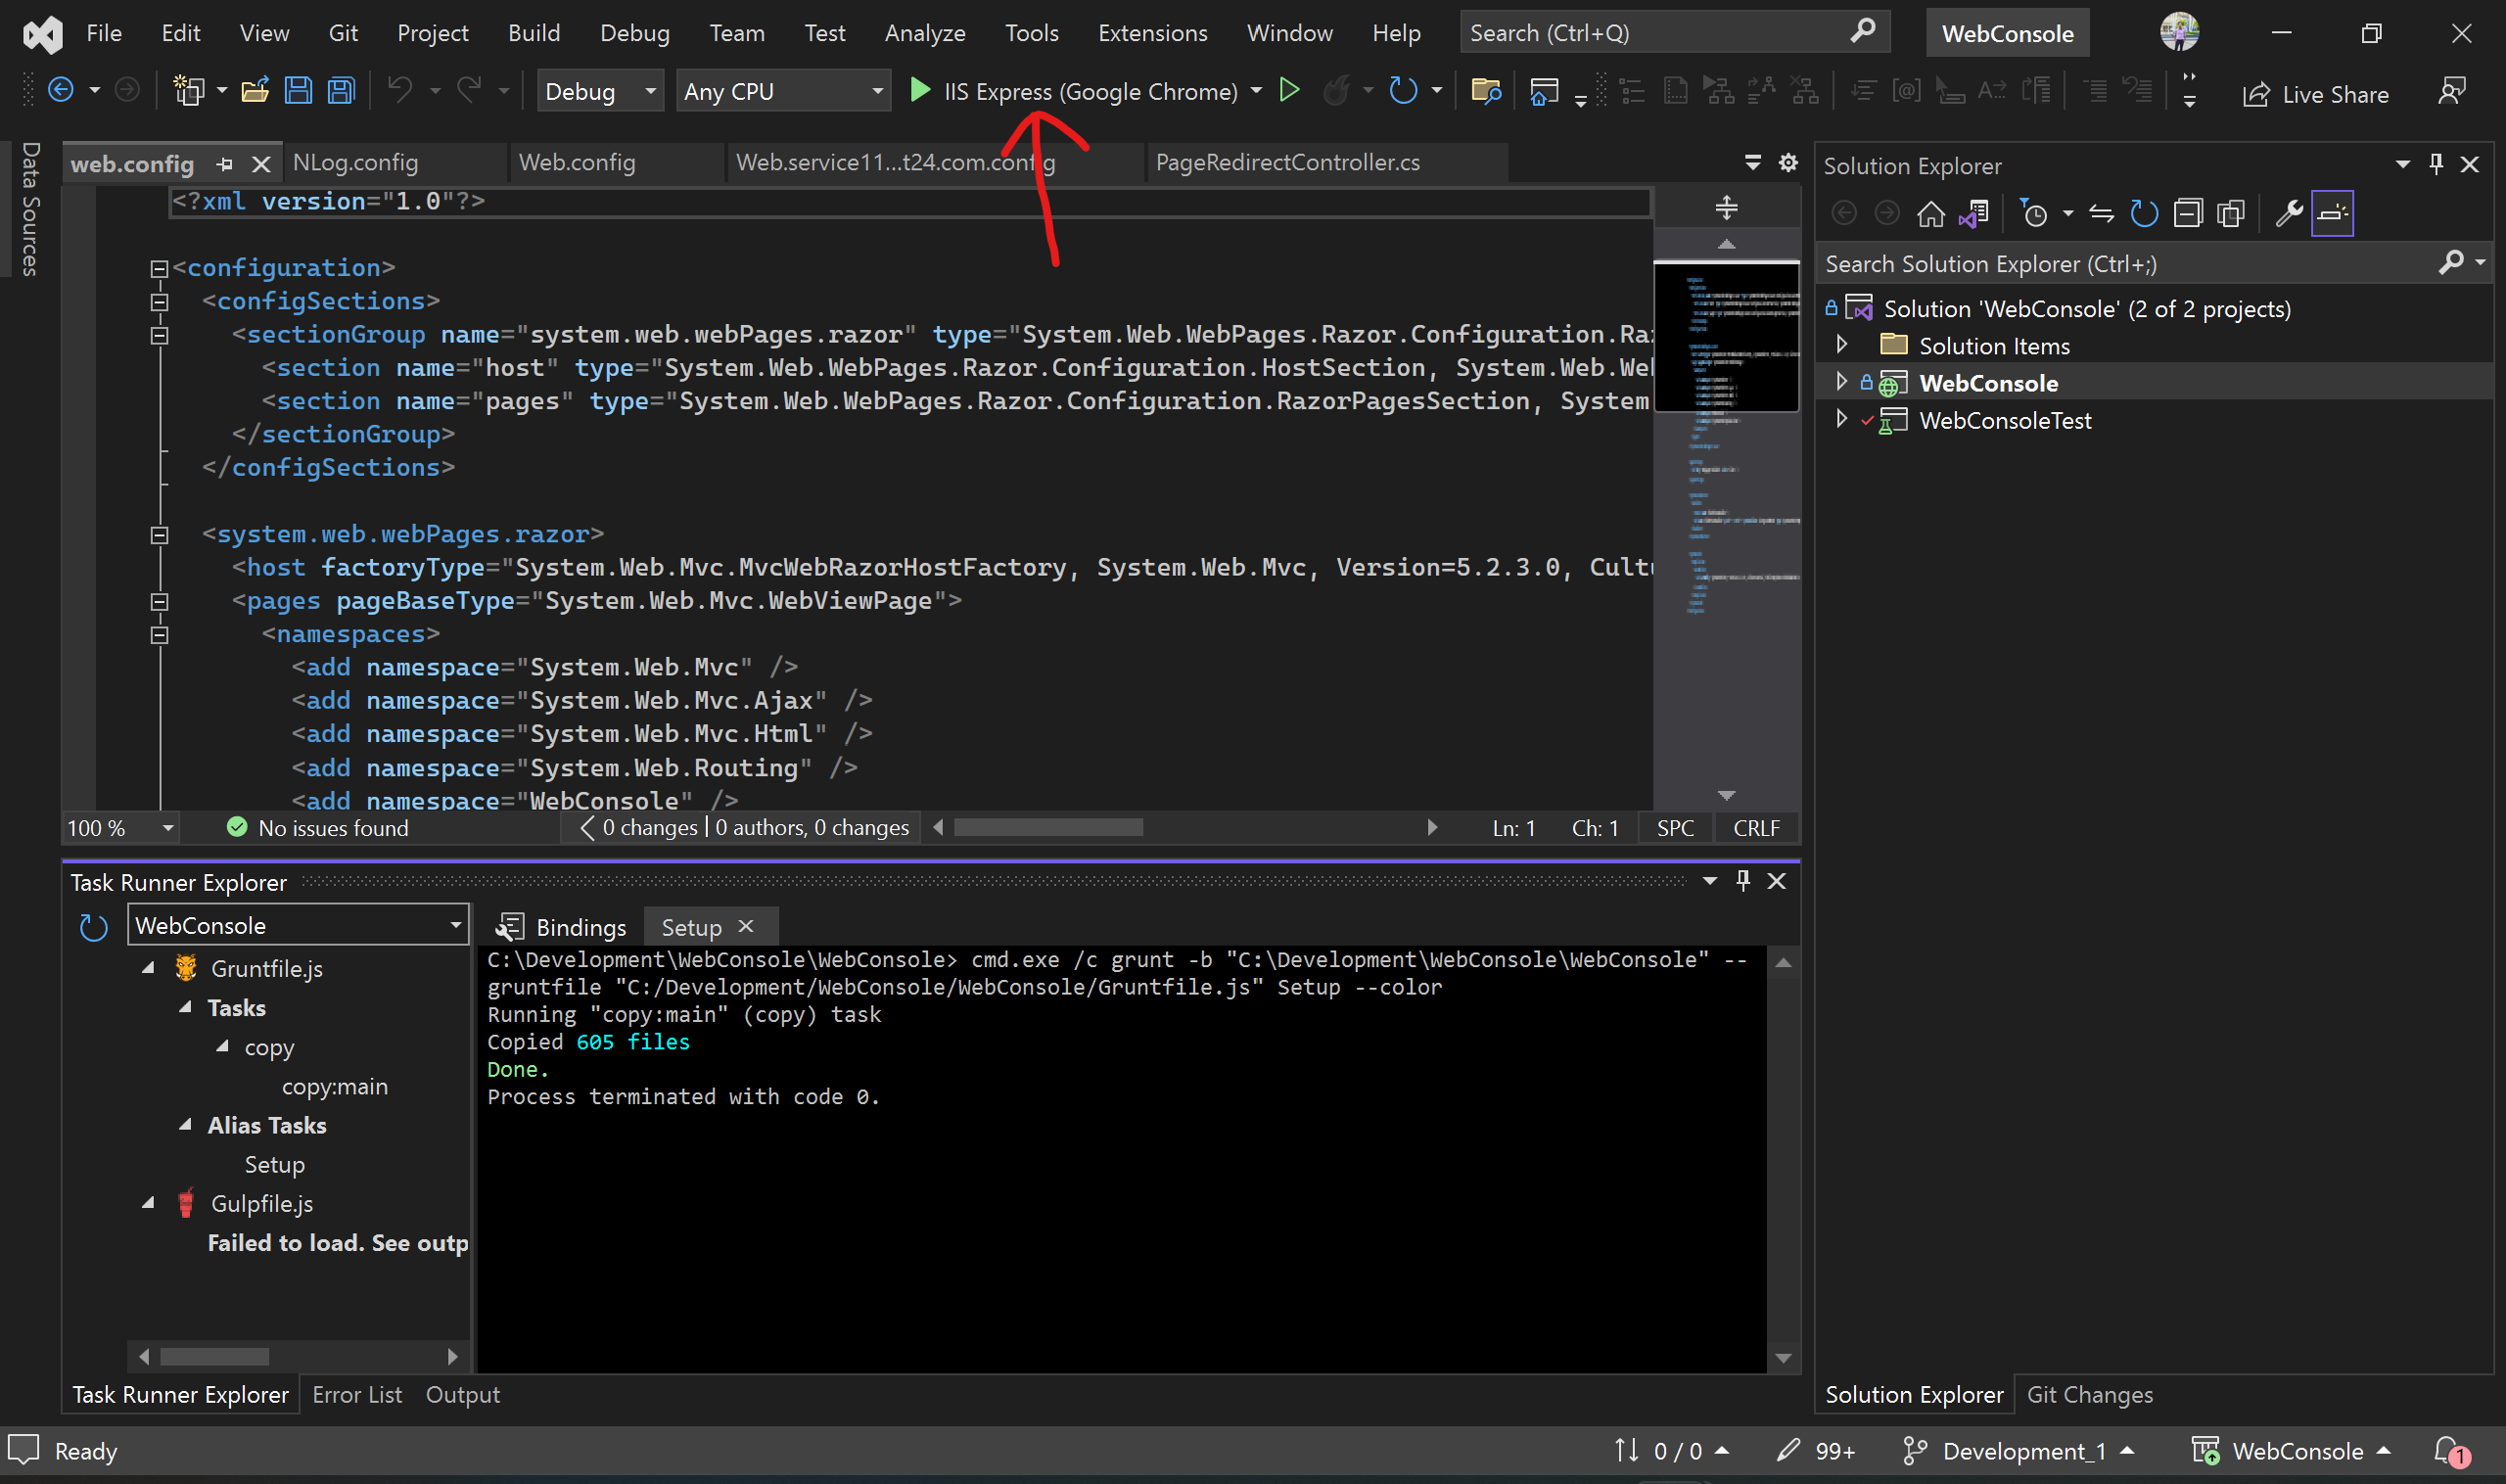 it will run it and launch the app in local server to selected browser.
 -
Make sure run this after visual studio code npm start or npm run build complete.
-
login to webconsole.
Additonal info if you install it on other than c drive
- if you install webconsole other than c drive then do this.
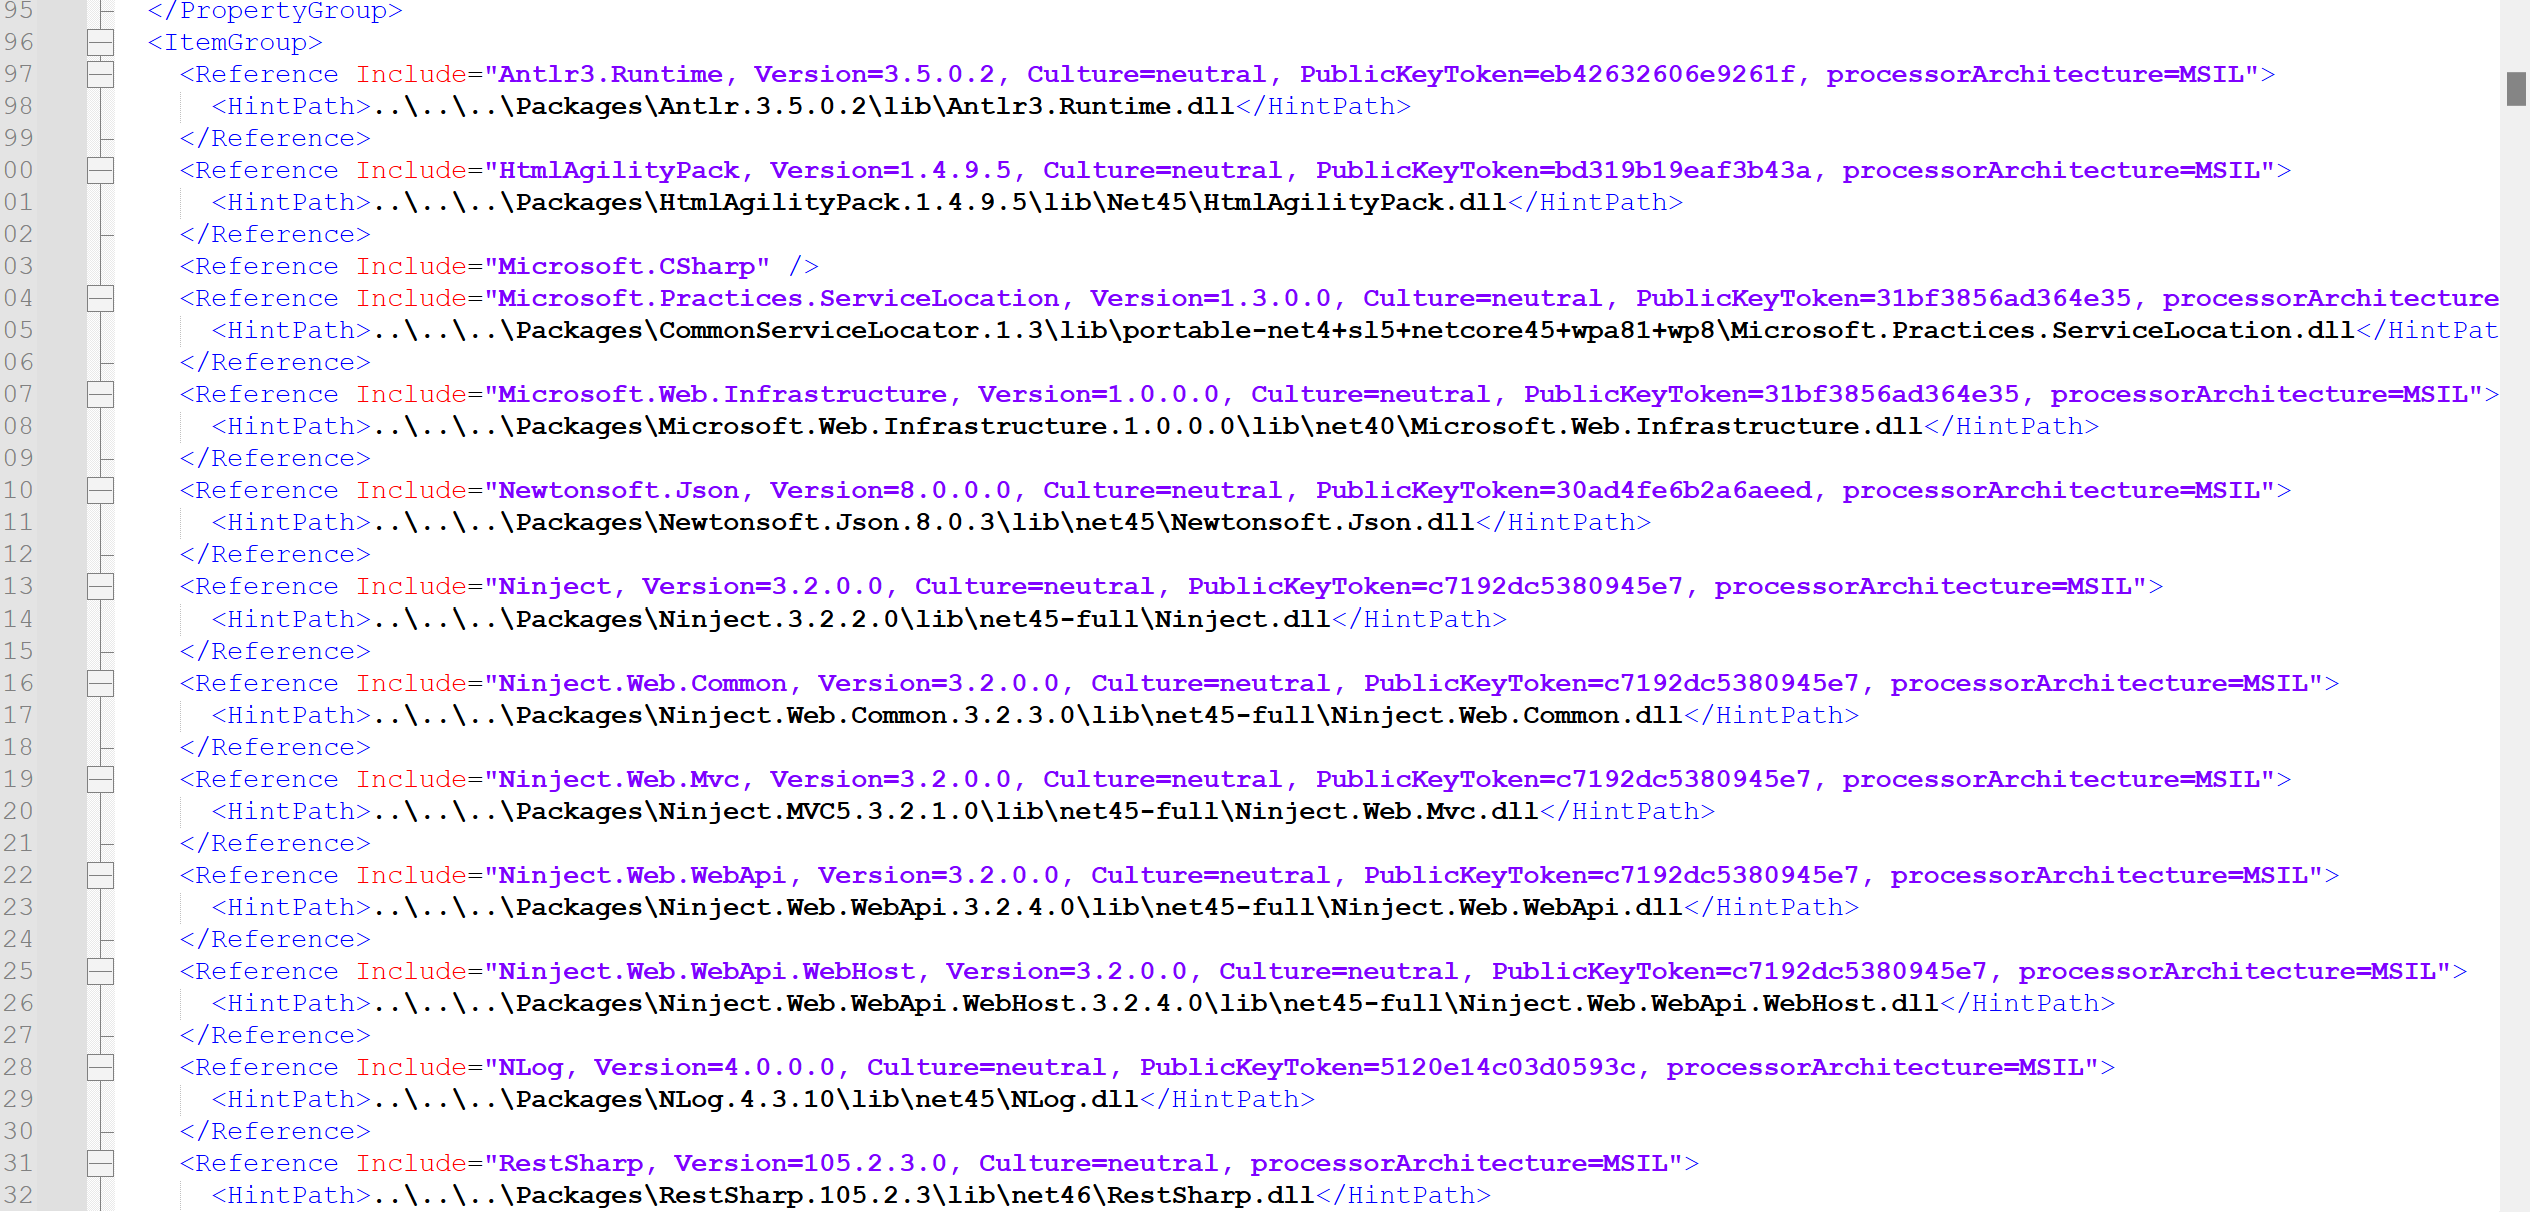
change webConsole.csproj file all reference to c drive so it will properly work.
and also "C:\Users\ce\Documents\My Web Sites\WebConsole-Site1" create this folder and create/paste a web.config file
<?xml version="1.0" encoding="utf-8"?>

<!-- For more information on using web.config transformation visit http://go.microsoft.com/fwlink/?LinkId=125889 -->

<configuration>
  <!--
    In the example below, the "SetAttributes" transform will change the value of
    "connectionString" to use "ReleaseSQLServer" only when the "Match" locator
    finds an attribute "name" that has a value of "MyDB".

    <connectionStrings>
      <add name="MyDB"
        connectionString="Data Source=ReleaseSQLServer;Initial Catalog=MyReleaseDB;Integrated Security=True"
        xdt:Transform="SetAttributes" xdt:Locator="Match(name)"/>
    </connectionStrings>
  -->
  <system.web>
    <!--
      In the example below, the "Replace" transform will replace the entire
      <customErrors> section of your web.config file.
      Note that because there is only one customErrors section under the
      <system.web> node, there is no need to use the "xdt:Locator" attribute.

      <customErrors defaultRedirect="GenericError.htm"
        mode="RemoteOnly" xdt:Transform="Replace">
        <error statusCode="500" redirect="InternalError.htm"/>
      </customErrors>
    -->
  </system.web>
</configuration>